This page is part of the MakerScanner series (<< previous in series)
Editing your STL with Blender
To make a good platform to print on, we are going to squash one side of the meshed model we created in the previous page.
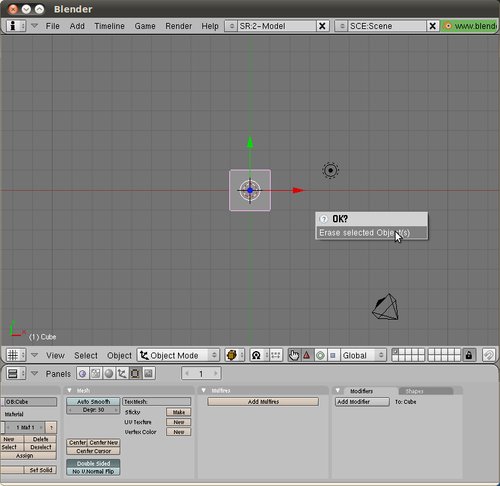
First, open Blender and delete the default box by pressing [Delete].
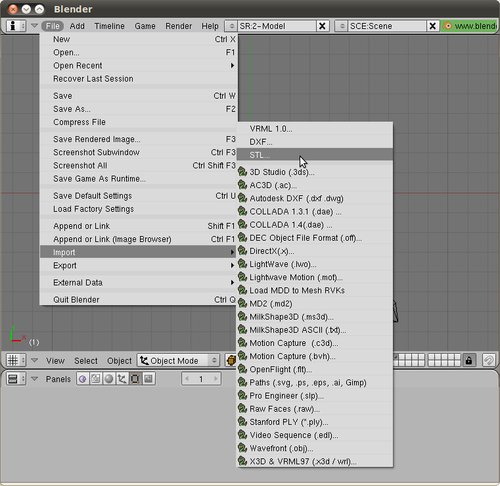
Select File > Import > STL and find the STL file you just saved.
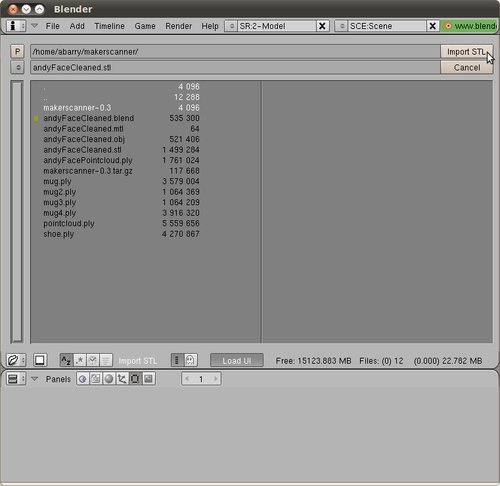
With your file selected, click Import STL.
Now you should see your meshed object. As before, you can change the view:
- Middle click + drag: rotate view
- Mouse wheel: zoom
- Shift + middle click: pan
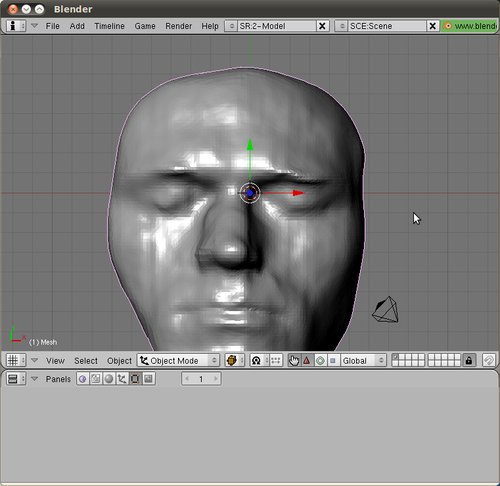
In this case, it's best to print the head upside-down, so we're going to flatten the top of the head. Press [Tab] to enter edit mode.
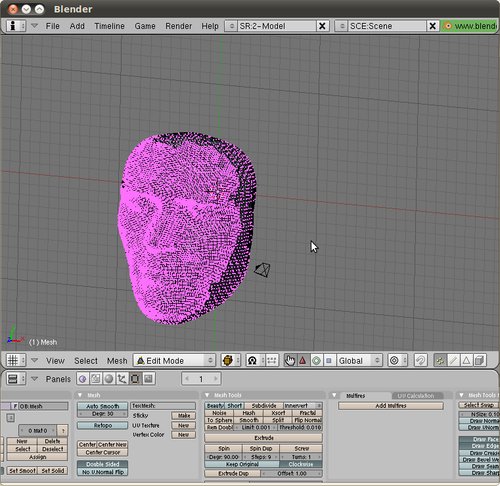
Now we are going to box-select the top of the head. Use [b]
to enter box-selection mode and drag a box around the top. For your own
models, you'll need to decide exactly where you want to put the flat
portion and follow along accordingly.
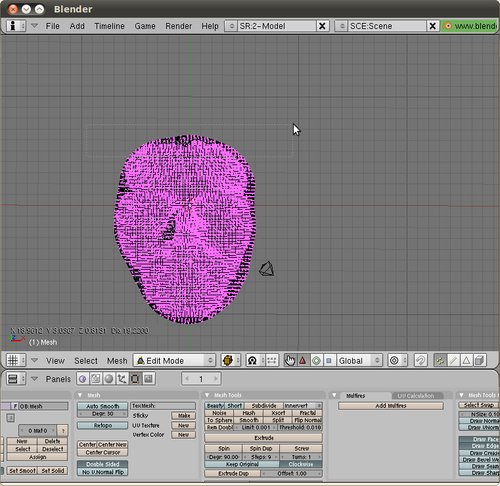
If you make a mistake, use [a] to un-select everything.
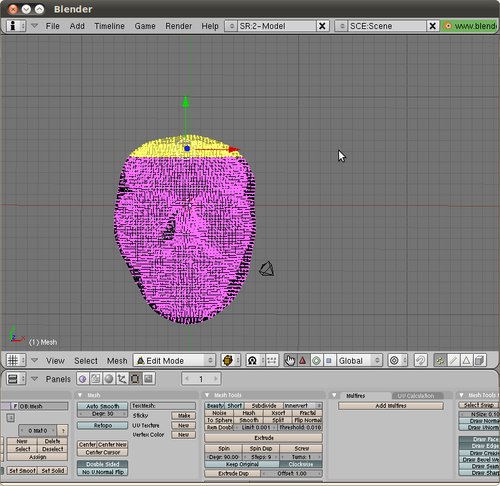
Scaling the top
With the top selected press [s] to go into scale mode. Now press either [x], [y], or [z], depending on the axis you want to scale on. In this case, we're using [y]. We never know which one, so we just try them all, move the mouse around, and see which one does the right thing.
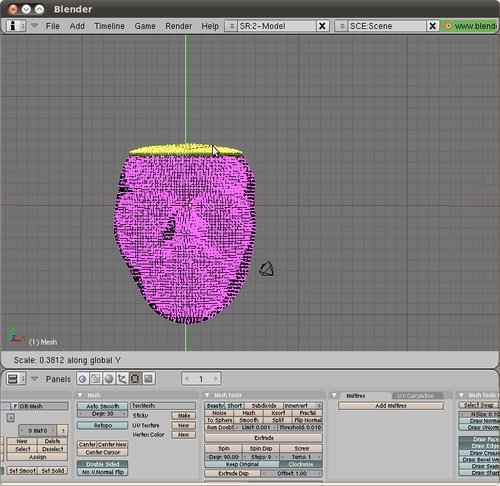
With the right axis selected, press [0] to completely squash the selected points.
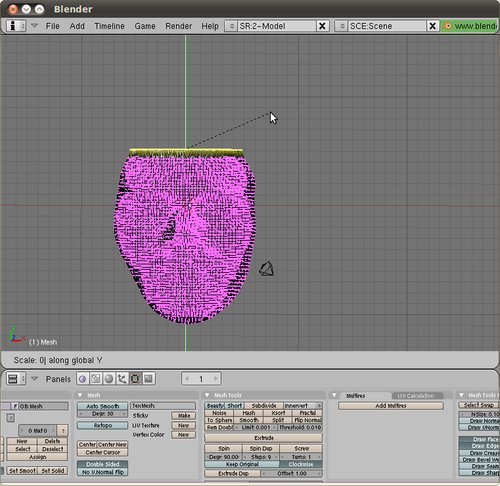
Then left-click to exit scaling mode.
Finally, we want to drag those points onto the top of the model. Press [g] to enter "grab" mode. Then, just as before, press either [x], [y], or [z], depending on the axis you want. Here we're using [y] again.
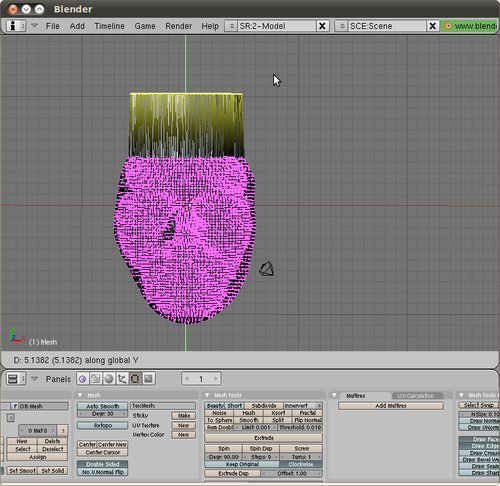
You can move the mouse around and see the model update. Place the points just above the model, creating a nice flat surface to print on. Left-click to exit "grab" mode.
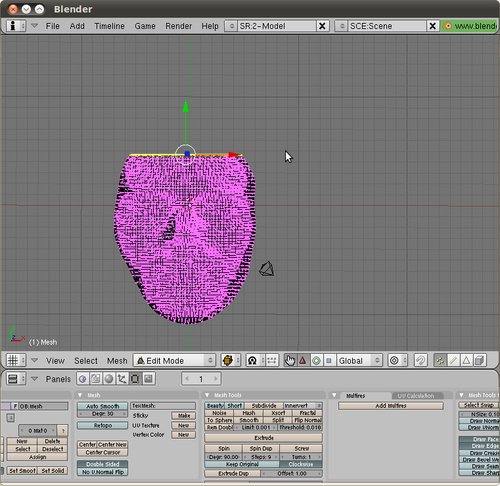
Press [Tab] to exit edit mode. Take a look at you're model — you're ready to print!
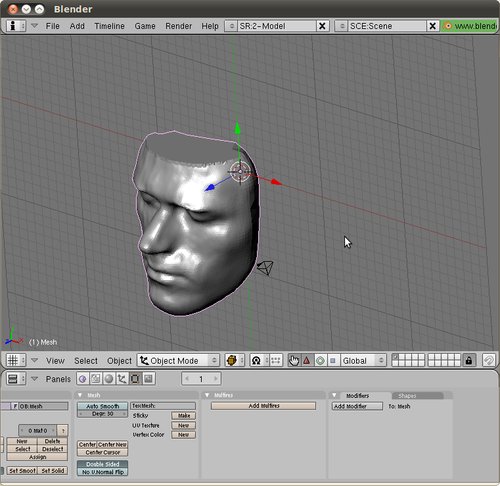
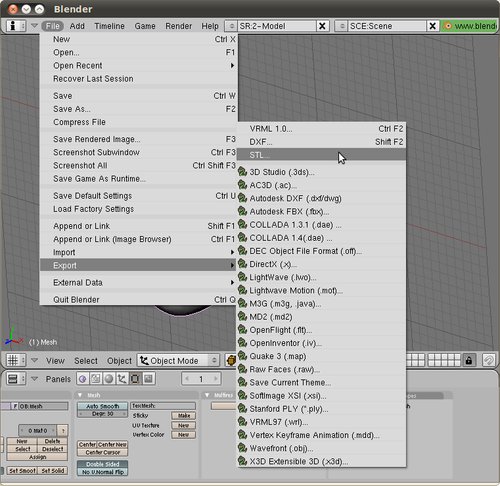
Finally, save a .blend file first and then export to STL. Select File > Export > STL and name the file with .stl on the end. That's a file you can now open in ReplicatorG!
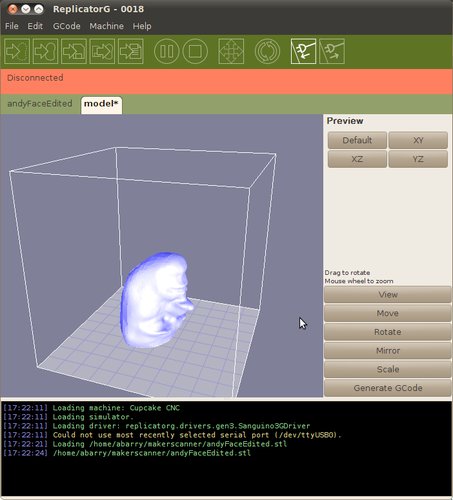
You will probably have to rotate and scale the object in ReplicatorG to get a good print.
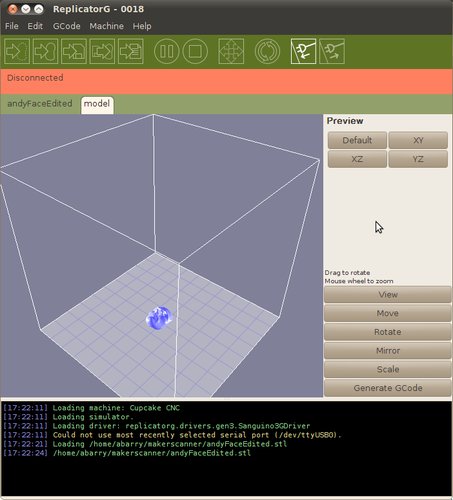
The ReplicatorG page has more information on how to do that.
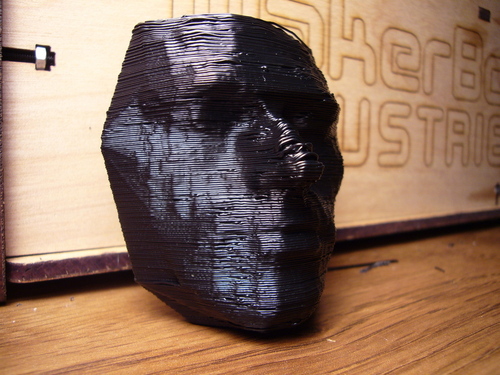
Don't forget to post your awesome designs on Thingiverse!
This page is part of the MakerScanner series (<< previous in series)